


Had the absolute pleasure to ride along with Brad Lang and John Collver (“War Dog”) as they performed formation flyovers over Green Hills and the LA National Cemetery for Memorial Day.


Photos below credit to Robert Friedenthal


A good day with friends at Edwards AFB (oh, and the F-22s 🙂 )


Our “children” are growing up!… Maybe…
An evening cruise around (a very small portion of) Smith Lake, Alabama.
Original time lapse video by Dana P. Howard (www.highlandwolf.com)


First flight in a helicopter for the wife and I, courtesy of an awesome co-worker.
Original photos by Dana P. Howard (www.highlandwolf.com)
Flight with J&J Helicopters (www.jjheli.com)


Pancakes (kitten) at 4 weeks.
Original photos by Delarie A. Howard

This is the final installment of my PC Seat build. You can find the related posts here.
After a week of using my new chair, a couple of things became apparent…
1) It’s as comfortable, robust, and ergonomic as I had hoped (score!)
2) Realizing that I have a love hate relationship with paint (sometimes it works, and sometimes it doesn’t) and that the chair doesn’t look half bad as is, I’m going to postpone making it colorful, indefinitely.
3) The power adjustments are awesome. That said, the power supply I found has a small fan making it undesirable to leave powered at all times. Plugging and unplugging the chair each time I want to make an adjustment is equally obnoctious.
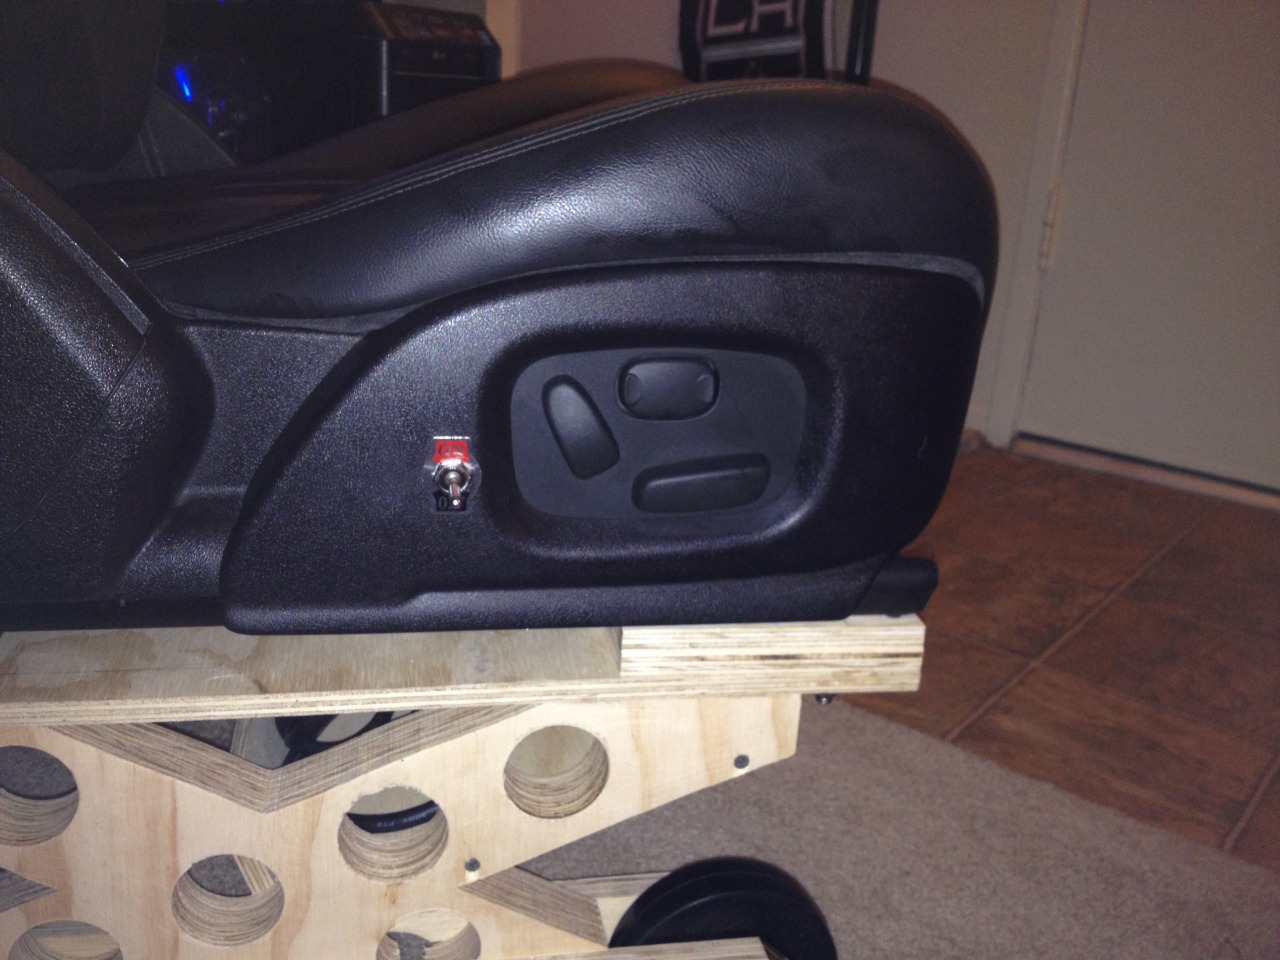
So, I installed a swtich.
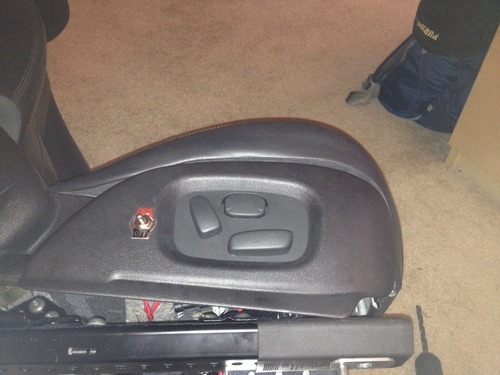
Now the chair can remain plugged in, and I turn the power off on a whim.
Lastly, I drilled a 2” whole in the upper plate of the base so the power chord routes nicely to the shelf below.
So, what did all this set me back? Here’s the rundown:
$100 – Jaguar S Type passenger seat (scrap yard)
$43 – Power supply and power chord (Amazon)
$42 – Plywood (Home Depot)
$60 – Wheels and Hardware (McMaster)
$5 – Power switch (Amazon)
———————————————————————————-
$250
Now, before you’re pocket book hangs it’s head in shame, keep in mind that I could have spent a little more time and probably saved ~$50 in materials. Also, a leather office chair at Office Max will cost between $180 and $400. And as previously mentioned, I have yet to meet one that fit me, was comfortable, and lasted more than 6 months before the mechanics gave out. So all in, I still think I came out ahead.
That wraps up the build. Feel free to check out the pictures here. Now… on to the games!


Completion of my PC Seat project – converting a Jaguar S type passenger seat into a custom office / gaming chair. More on the build, here
Original photos by Dana P. Howard (www.highlandwolf.com)

This is installment four of my PC game chair build, started here. Interested? Follow along here.
Step 4: Building the Base
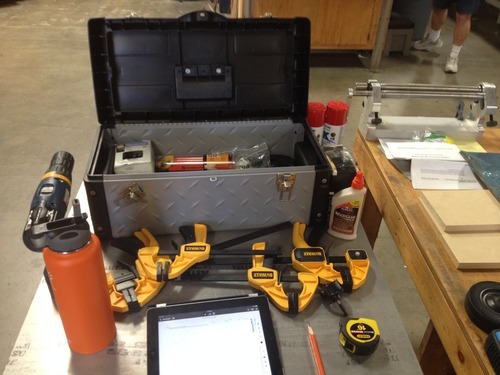
Having set my design to drawings I collected my tools…
packed up my jeep…
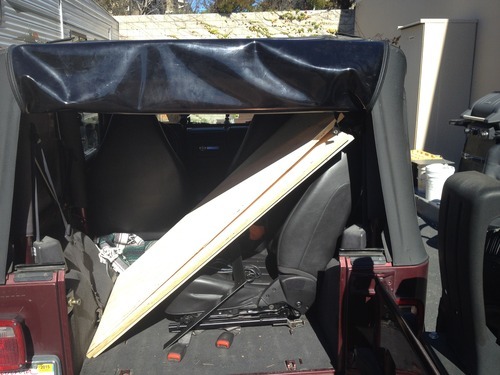
and went to my friend’s shop to get building.
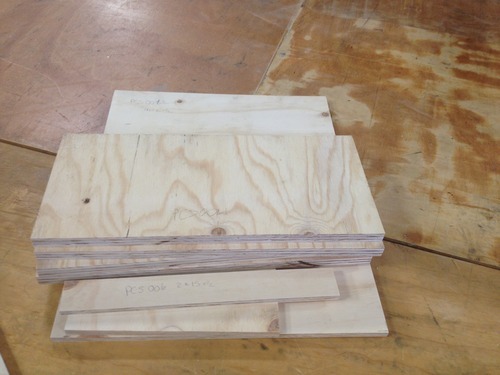
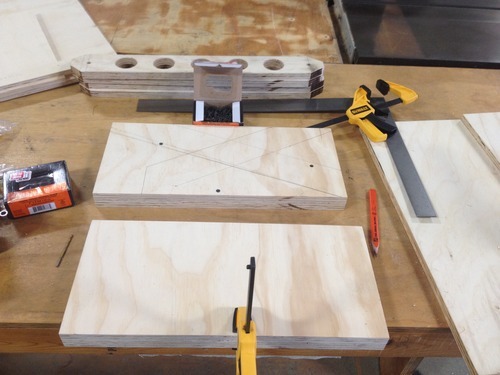
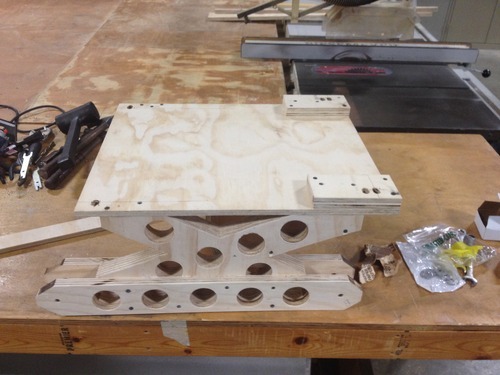
The first steps were to cut the ¾” and ½” plywood sheets to the part sizes needed. Note that each “x” (side support) is made of 2 parts sandwiched together, so there are four plates for them, in addition to 4 wheel rails, a top plate, and two parts for the “bookshelf” underneath…
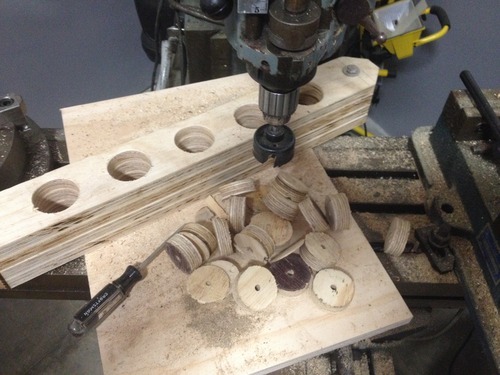
I started with the wheel rails, shaping them and drilling 3/8″ holes at the ends for the wheel shafts and 5 circular holes along the length. the latter process was made easier by bolting the 4 rails together with the wheel axle bolts to make drilling them all together possible. That said, drilling the holes became quite the endeavor as the hole saw I had could only cut through one rail at a time and prying the plug out after each cut was quite painful. But I soldiered through… (anyone need about 50 small wooden wheels?)
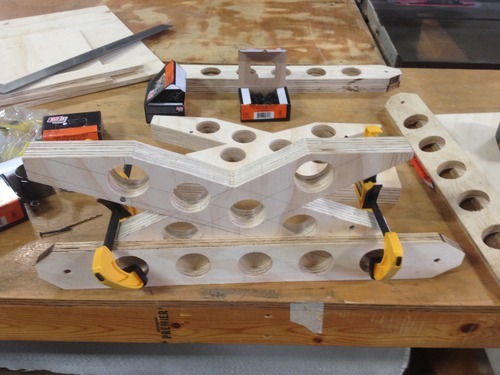
Next, I laid out the X shaped side members and stacked the plates for them in pairs. Similarly, this allowed me to cut all four to shape and drill their holes together.
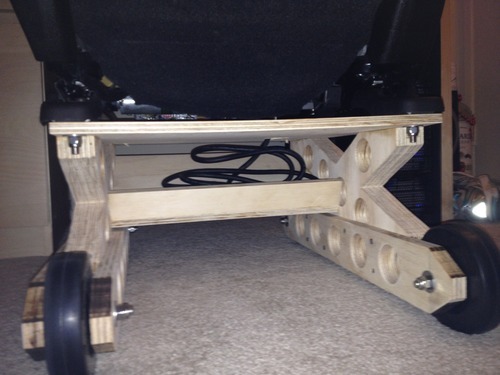
With the sides complete, I attached the wheel rails and attached them to the base plate. Note, up to this point I had only used drywall screws to join the pieces. However, the leg to base joint was critical to the chairs stability and strength, so I used wood glue in addition to screws.
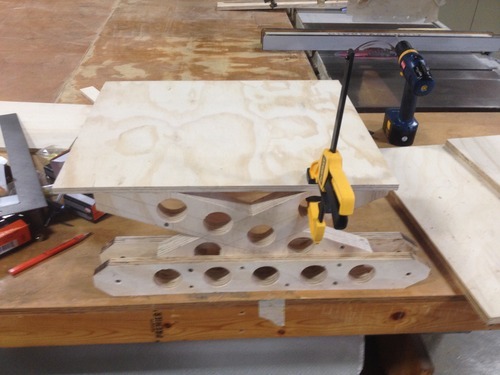
Similarly, I fit, glued, and screwed the “bookshelf” components in between the leg supports.
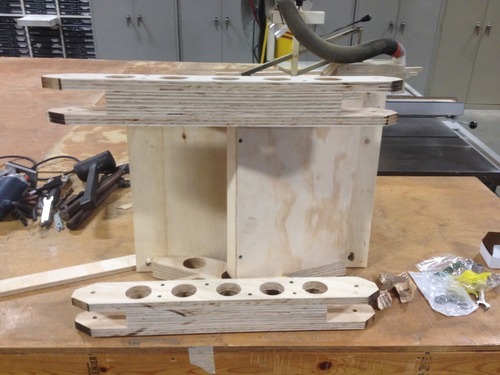
Finally, the upper standoffs were added and holes drilled to accommodate the bolt locations and pins that extend from the base of the chair’s rails. Note that these holes were not in the drawings as I had not yet measured their placement. This ended up being a bit of a mistake as I was quite tired at this point and missed a measurement by ~ ¼”. Hence, if you look closely, you’ll see that I had to use a router to turn the holes into slots. Fortunately, these errors would be hidden under the chair and not visible upon completion.
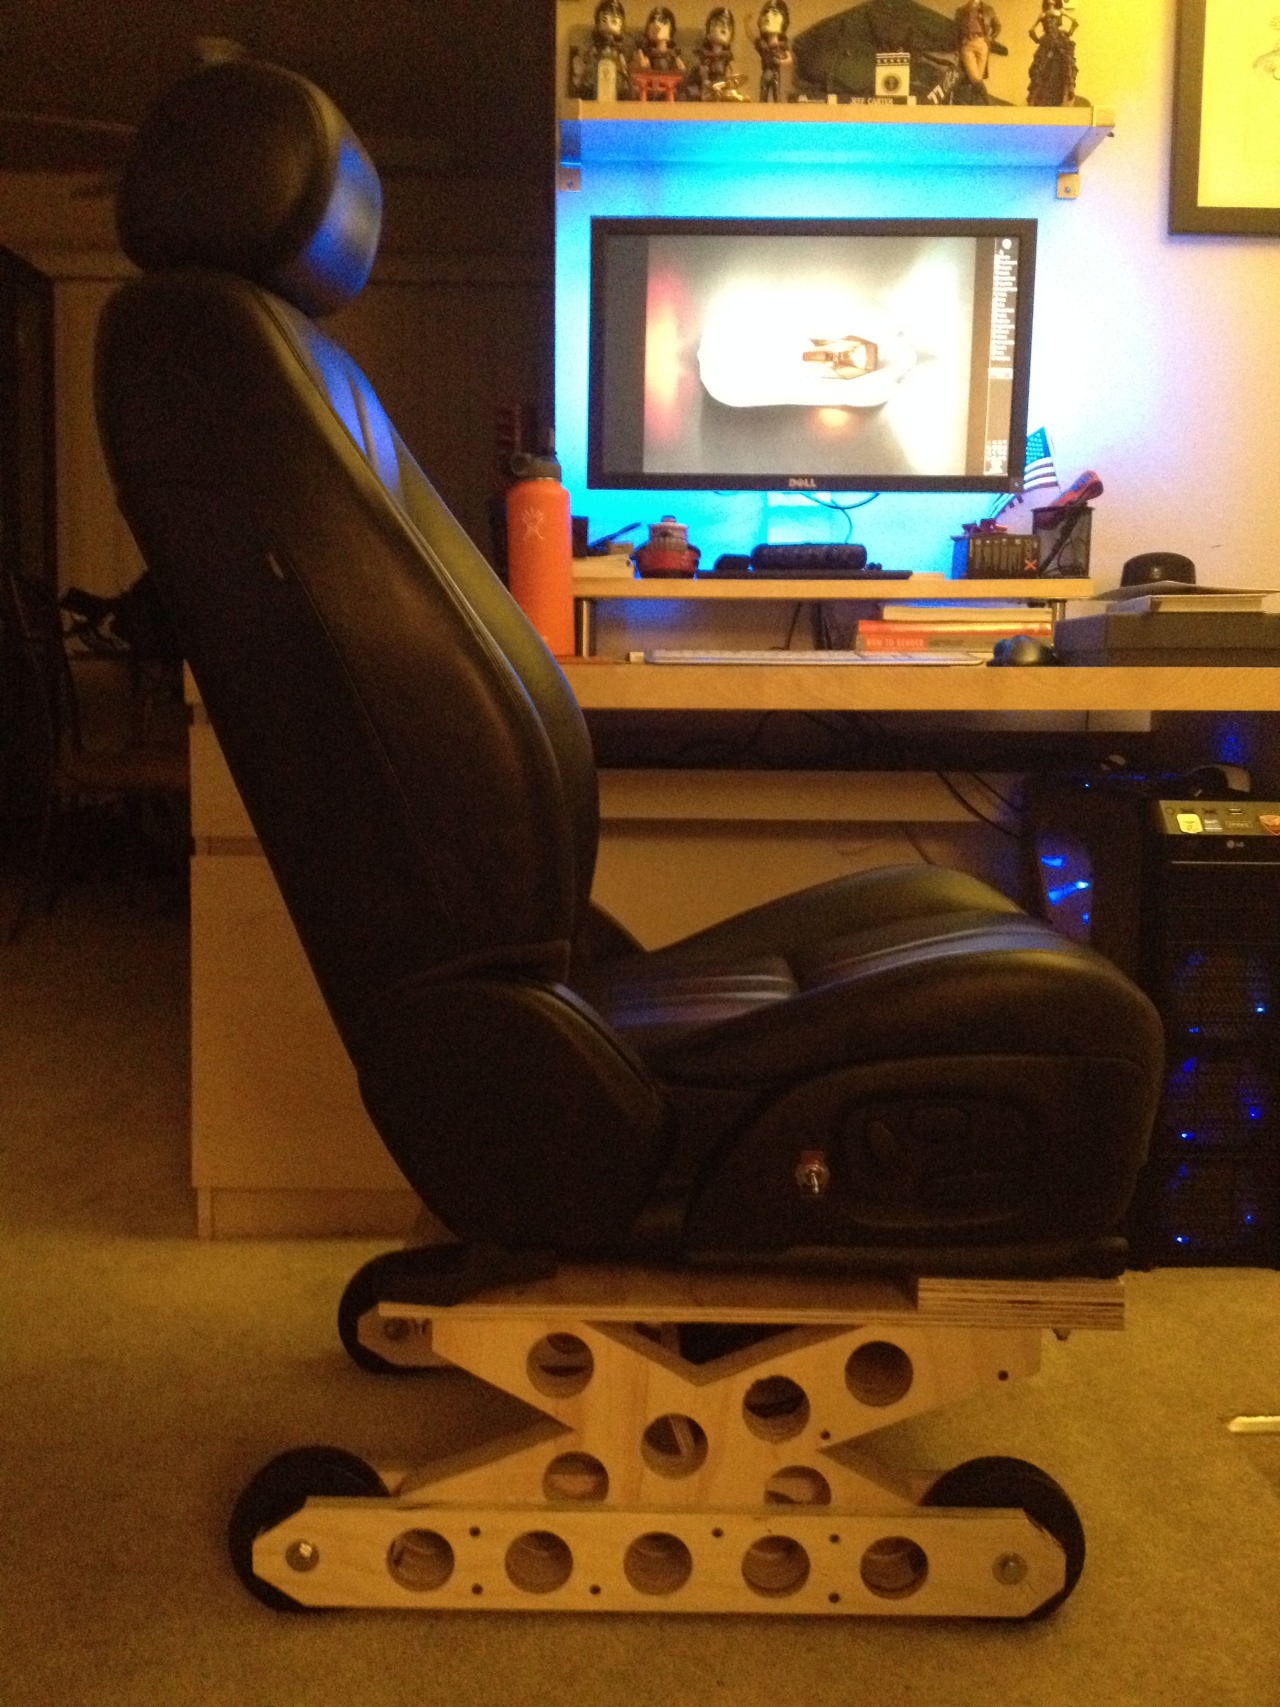
I had intended to paint the base at this point, but as mentioned previously, was beginning to make mistakes. Instead, I packed everything home and had a pleasant dinner with my wife and father in law. Later that night, I made the first full up assembly of the chair and.. voila!
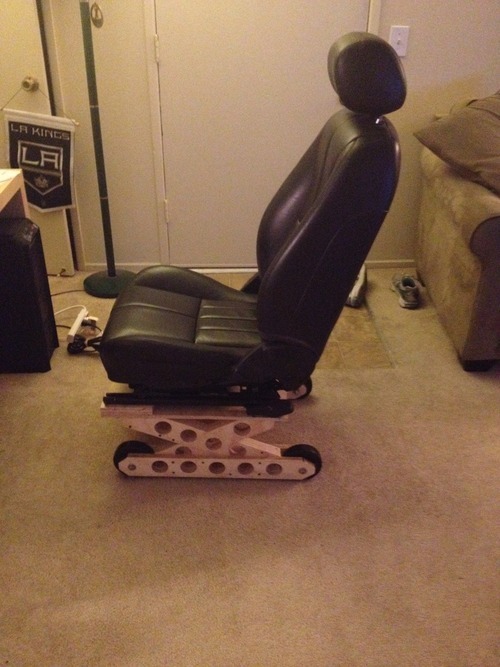
Everything fits as planned, all the motors work, and its really comfortable! (for me at least, if you’re not 6’1″ you might want to knock an inch or so off the base’s height) Both my wife and a friend I sent a picture to suggested that the wood looks great next to my desk, and I have to agree. That said, the exposed screws, pencil marks from construction, and couple of burn marks from the dull band saw blade are a turn off for me, so I still plan to paint it. But its raining (in LA?! Crazy, I know!) and it will have to wait for another opportunity.

To be continued… (#PCSeat)
Original photos by Dana P. Howard (www.highlandwolf.com)
