This is installment three of my PC game chair build, started here. Interested? Follow along here.
Step 3: Power and Plans
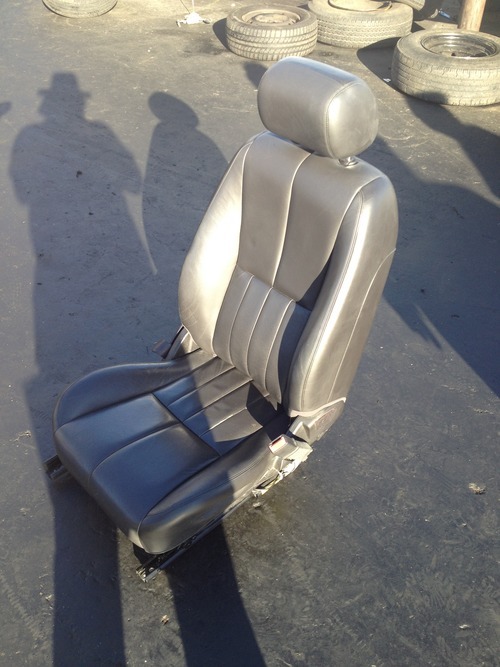
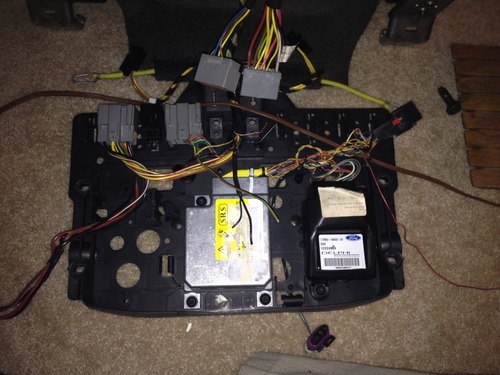
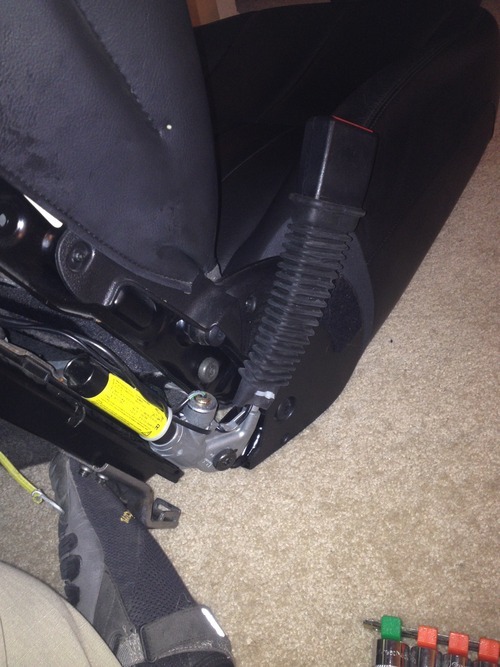
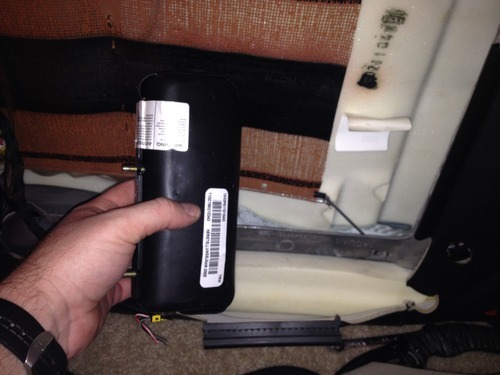
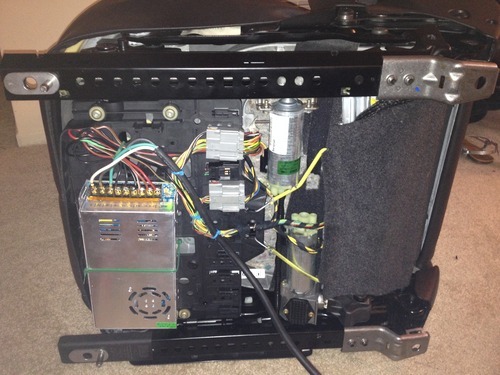
Having made my seat of choice less explosive and sorted out it’s power needs, I set about installing the power supply and planning the base design. As discussed in the previous post, I had ordered a 360 watt power supply and AC power cord from Amazon. Installing the power supply was straight forward. It’s three 12V output lines matched well with the 3 power input lines of the seat (2 gross motion lines and 1 line for the lumbar support) and with a little trimming, fitting, and a few zip ties, it fit nicely in the plastic tray at the base of the chair.
I’d post a video of the chair working, but given its slow motion, all you would get is a whirring sound in the background and a video of me with a satisfied grin on my face 😉
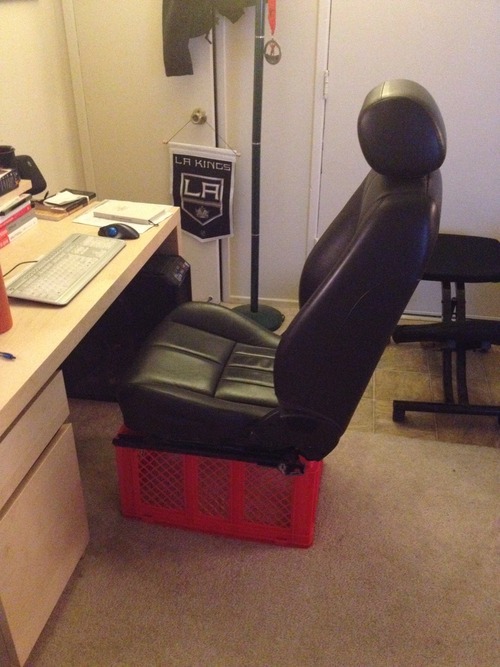
Knowing that the chair now worked, I set about figuring out dimensions for the base. As shown in the picture above, a milk crate made a suitable first test, though at 12.5 inches tall it proved to be at least 1.5 inches too tall for me to comfortably place my heals on the ground. With the chair able to go up about another two inches, I settled on a floor to chair height of closer to 10 inches.
From there it was figuring out what kind of shape looked good that I could build relatively easily with some power tools (borrowed from a good friend) and simple lumber. I downloaded a seat model, picked out some 5″ rubber wheels, and settled on the shape below.
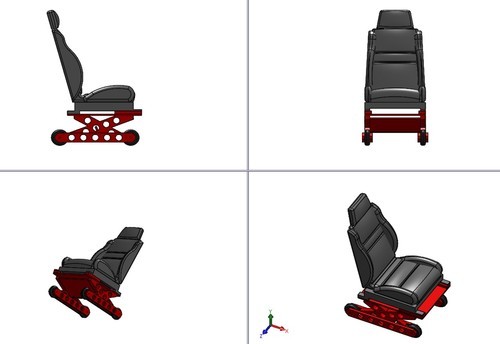
The color and hole pattern are still TBD, but you get the drift.
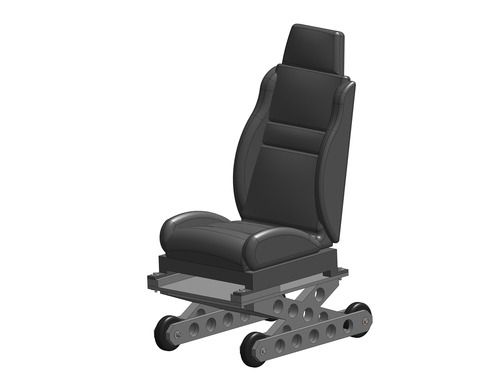
The wheels and hardware are on the way (McMaster, the Amazon of industrial stuff) Next step is to make some drawings, get the plywood, wood screws, and paint, and get building!
Original photos by Dana P. Howard (www.highlandwolf.com)